Forgot to thaw the meat (or some other ingredient)?
Did you forget to thaw your meat in advance? I wish I could tell you that I’ve evolved beyond this common memory lapse; but, alas, I’m human and have done this MANY times. The silver lining is that you can take advantage of the tricks I’ve learned from my mistakes. 🙂 If you’ve forgotten to thaw your meat or whatever, you have some options in last minute thawing methods. There are pros and cons to most of them. See below for instructions, pros, and cons of 3 common methods.
Side Note: Just to be clear, the best way to thaw is to do it in advance in the refrigerator where it will stay below 40 degrees F. These methods are really just for when you’ve forgotten to do that (as I frequently do).
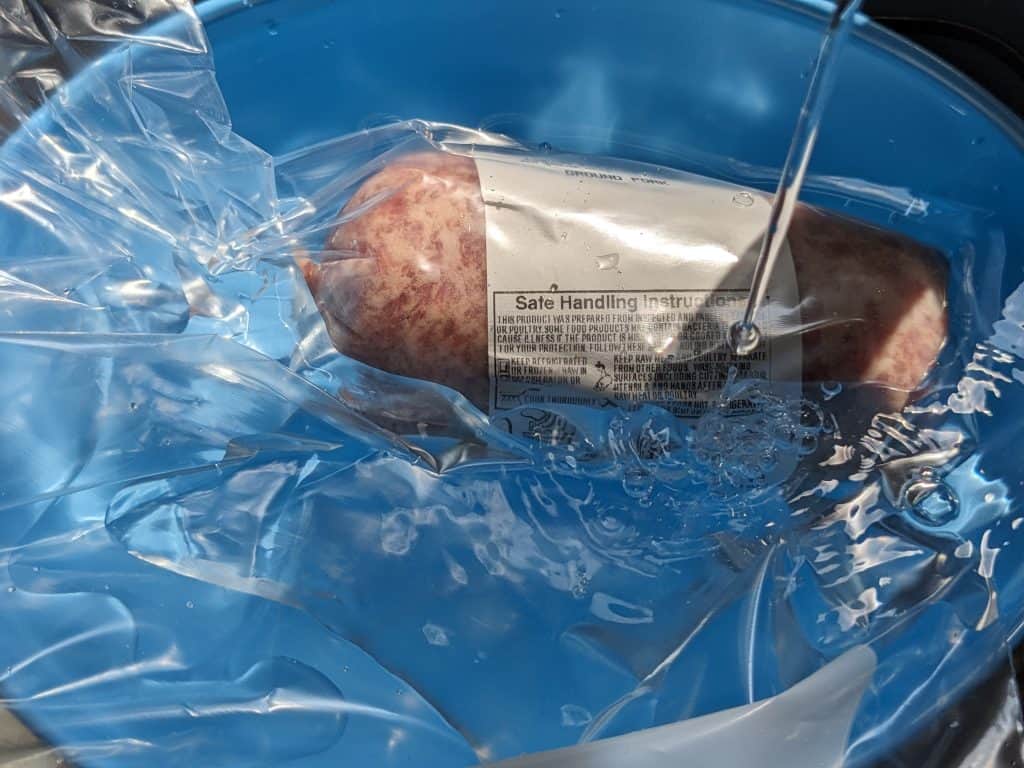
Sous Vide Thawing
Using a circulating water bath to bring the item up to room temperature.
Disclaimer: Sous vide thawing is not one of the 3 thawing methods listed by the FDA. While I use it frequently, I am not a food safety professional and can only speak to my personal experiences. That said, sous vide thawing is usually my first choice in last minute thawing methods. The note that I will give is that I do cook it right away once it is thawed, so it is not hanging out at an unsafe temperature for additional time.
Method:
- Set your sous vide to room temperature or about 69-70 degrees F.
- Bag and seal the meat:
- If the meat or whatever you are thawing is already vacuum sealed, leave it in the packaging.
- If it is not already vacuum sealed and you have a vacuum sealer, seal it in a bag with a couple of weights and vacuum the air out of it. Skip to Step 6.
- If it is not already vacuum sealed and you do not have a vacuum sealer, then put the meat directly in the zip top bag and proceed with the next steps.
- Grab a zip top bag and add a couple of food safe weights if you have them.
- Place the meat or meat package in the zip top bag and zip the bag closed except for about 2 inches.
- Submerge the bag in the water so that the air all gets pushed out. Once all of the bag other than the top seal is under water, close it the rest of the way.
- Turn on the sous vide and set a timer for usually 30 minutes to an hour. If I’m thawing something relatively flat like steaks or sausages, it’s 30 minutes. If I’m thawing something thicker like a roast, it’s usually an hour.
- When the timer goes off, remove the meat (or whatever) from the water bath and proceed with your cooking as usual.
Pro(s):
- You’re not going to over cook it.
- It usually only takes 30 minutes to 1 hour, unless you have an exceptional situation like a whole 20 pound Thanksgiving turkey. During that time, you don’t have to babysit it. Just set it and set a timer so that you don’t forget it.
Con(s):
- You need to have a sous vide.
- Ideally, you have a vacuum sealer.
- Ideally, you have some food safe weights.
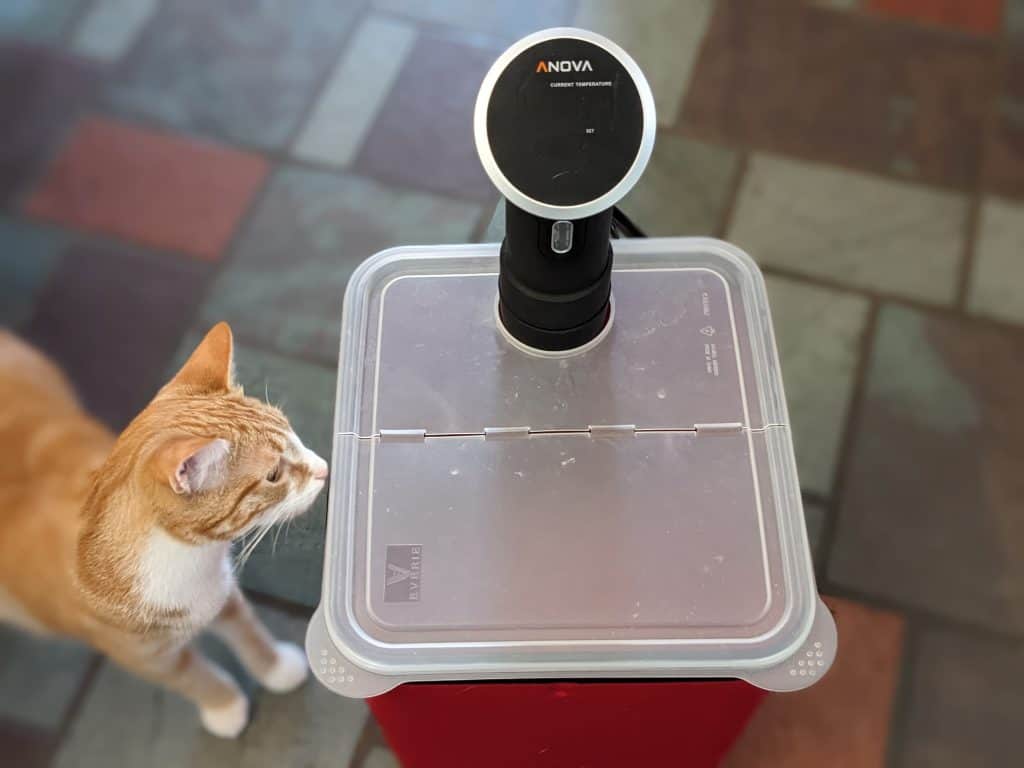
Henry
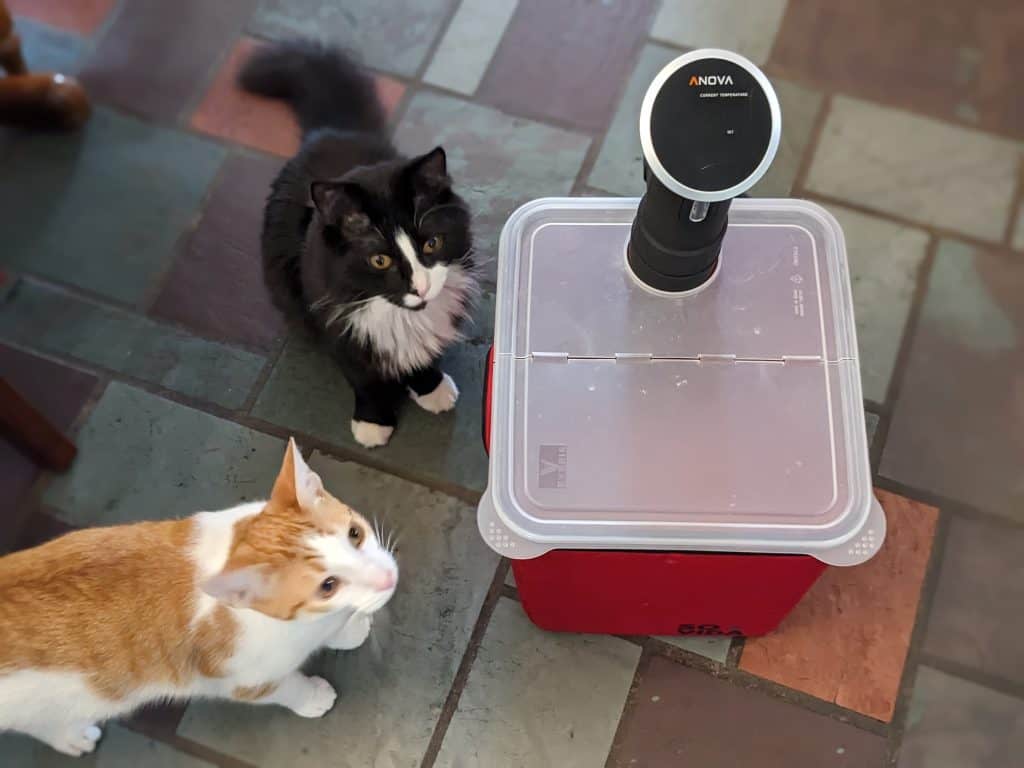
Harrison & Axel
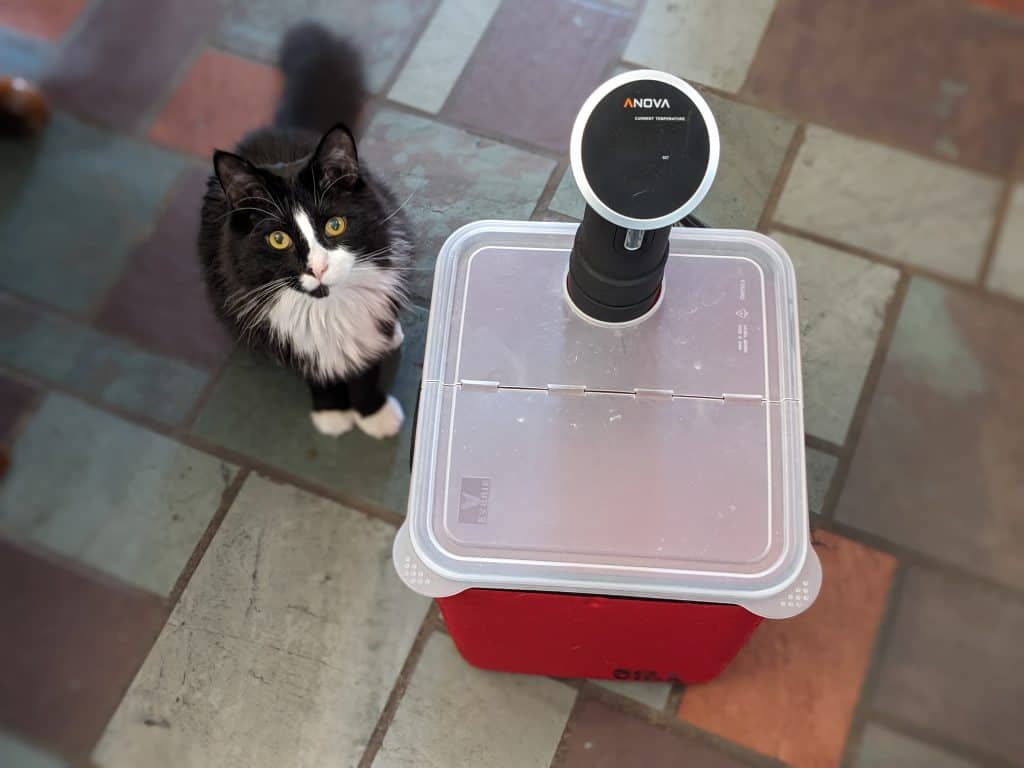
Axel
Side Note: Henry (orange tuxedo cat), Harrison (orange & white cat), and Axel (black & white tuxedo) are not part of the sous vide thawing method.
Cool Running Water Thawing
Placing the item to thaw in a bowl in the sink and running a slow trickle of cool water over it.
Method:
- If whatever you are thawing is in a vacuum sealed package, set the package in a bowl in the sink. If it is not in a vacuum sealed package, place it in a zip top bag and then set it in a bowl in the sink.
- Turn on the tap to a slow stream of cool water and let it run on the frozen object in the bowl.
- Let it run for about 30 minutes, checking and turning it periodically. For larger items, it will likely take longer, so keep checking.
Pro(s):
- All you need is a sink and a bowl.
- You can mostly leave it unattended.
Con(s):
- You are basically running water for the entire time until the food thaws.
- Unless you have some really cool set-up, you basically have to sacrifice a sink while you do this.
Microwave Thawing
Use the defrost setting on your microwave to thaw the item
(I consider this the fastest of the last minute thawing methods.)
Method:
- Make sure there are no metal pieces on the packages, place the frozen food on a plate, and set it in the microwave.
- Use the defrost setting by either time or weight. I recommend using the weight and then decreasing it by half to start.
- When / if the microwave beeps and says to turn over the food, do so. I find that this really does help the food to thaw more quickly and evenly.
- When the microwave says it’s done, check it and see if it needs more time. Since you cut the weight in half to start, it probably does. I usually wind up setting it to about a quarter of the weight for the second round in the microwave.
- Repeat as in step 3.
- Check it again when the microwave says it is done. I usually don’t need to go beyond that, but your mileage (and microwave) may vary.
- Repeat this process as needed until the food is sufficiently thawed. Just be careful to watch the edges so that they do not start to cook.
Pro(s):
- You probably have a microwave.
- It’s relatively quick as thawing goes.
Con(s):
- It requires a bit more active management than the other two methods. You need to be careful that you do not cross the threshold from thawing into cooking. This will not give you the desired result in terms of flavor or texture. I’m not saying that you can’t recover if it accidentally happens. However, if using the microwave method, I would advise starting out by under-thawing and then gradually increase the time if / as needed.
Summary
I have used each of these last minute thawing methods on many occasions. For me it usually depends on the point at which I realize that I forgot to thaw something. If I need it as fast as possible, I’ll go the microwave route. If I have a bit more time, I’ll usually choose sous vide thawing over cool water unless my sous vide is already in use.

Leave a Reply