I consider this Chili Garlic Whip just the latest symptom of what is quickly evolving into a high grade savory whipped cream obsession. But really, how can I ignore the calling of chili garlic sauce combined with one of my staples–heavy cream? I can’t and didn’t, so here you have a SUPER easy spread, dip, or ingredient.
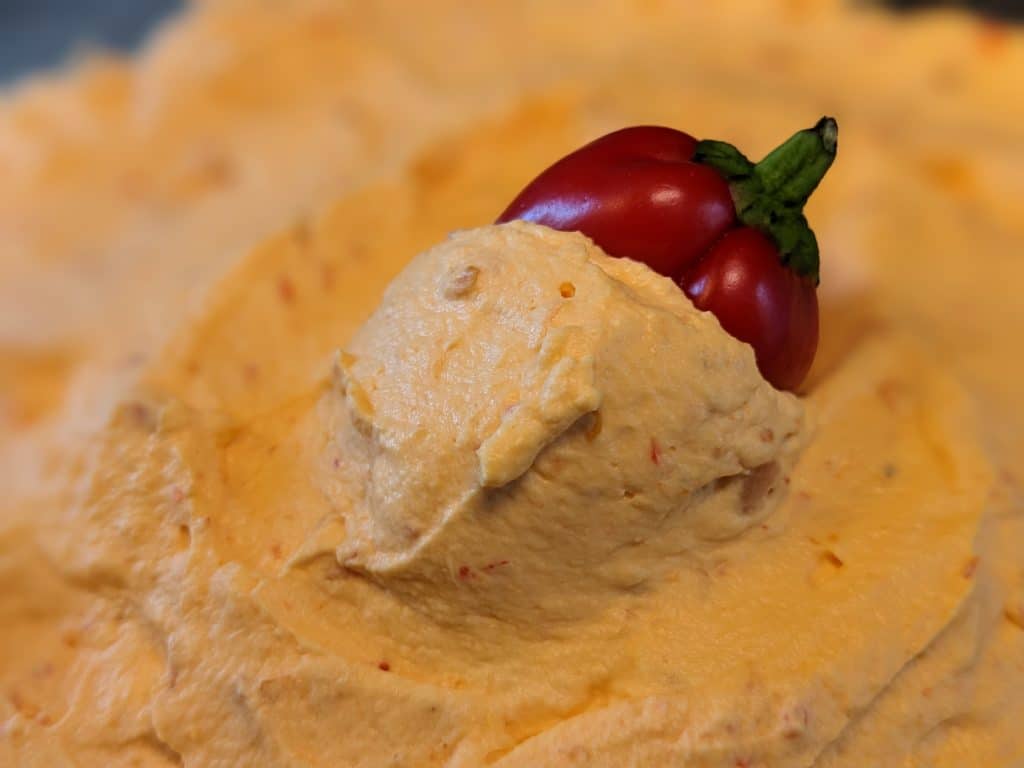
In general, I think that savory whipped creams are often underappreciated and definitely under utilized. I suspect it’s because the default idea of whipped cream for many people is the tub of Cool Whip or the can of Reddi-wip from the store–both of which are only available in the sweet variety. One of the saving graces at the beginning of our keto adventure (while I was in my self-imposed calorie restriction and therefore hangry phase) was that we could still very quickly “whip up” whipped cream for dessert without worrying about breaking our diet. Learning to make my own whipped cream came with a “light bulb” moment–I can make it whatever flavor I want and it really doesn’t take more than an extra minute all in.
Then the epiphany bloomed. If I could make any flavor I wanted, why couldn’t I make savory whipped cream or something a little thicker part way between whipped cream and butter? Answer: No reason at all. So here we are. As evidenced by my Whipped Pesto Obsession and resulting Whipped Pesto a few weeks ago, I love whipped cream whether savory or sweet.
What You Need to Make Chili Garlic Whip
Equipment
- Stand Mixer (or Large Mixing Bowl and Hand Mixer)
- Rubber Scraper
- Measuring Cups – I prefer and suggest the plunger style ones for measuring liquids and sauces as in this recipe.
Ingredients
- Heavy Cream – I plan to test this recipe with coconut cream for a dairy free alternative and will update the post accordingly.
- Chili Garlic Sauce – I usually find this in the Asian food section of my regular grocery store.
Getting Started on Chili Garlic Whip
If you’ve been reading along for a while, many of these steps will be familiar.
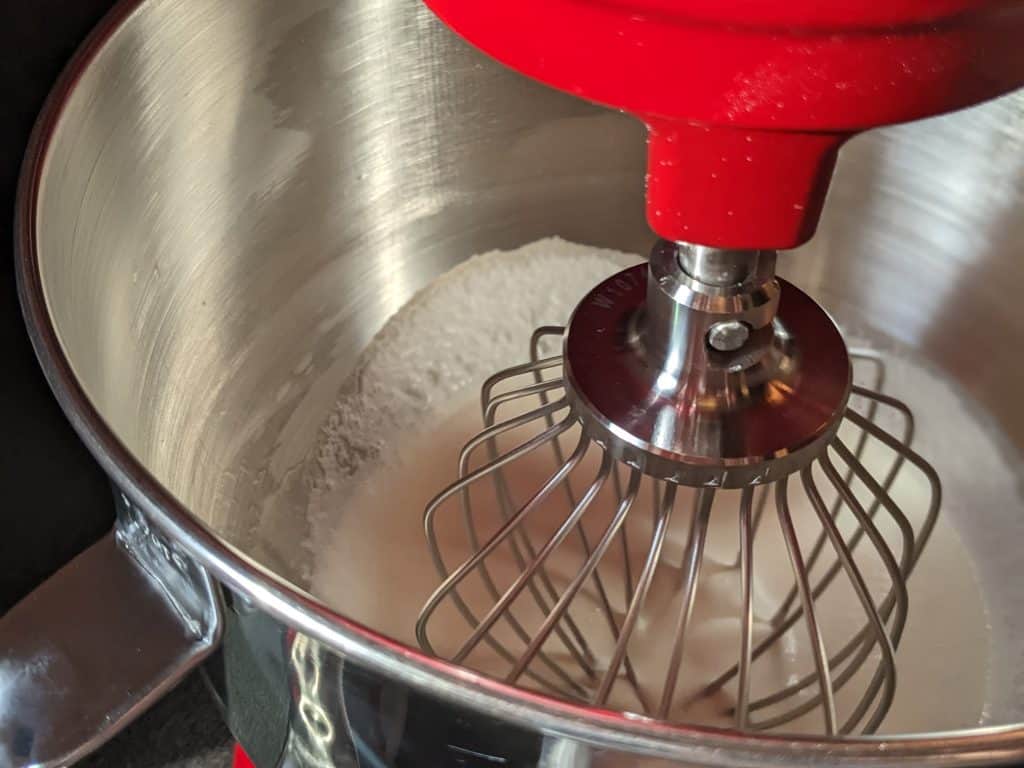
First we start by pouring 2 cups of cold heavy whipping cream into the stand mixer. If you don’t have a stand mixer, use a large bowl and a hand mixer. Using the whipping attachment, beat it on low to medium speed until it starts to form air bubbles. Then turn up the speed and keep whipping until it turns into soft peaks.
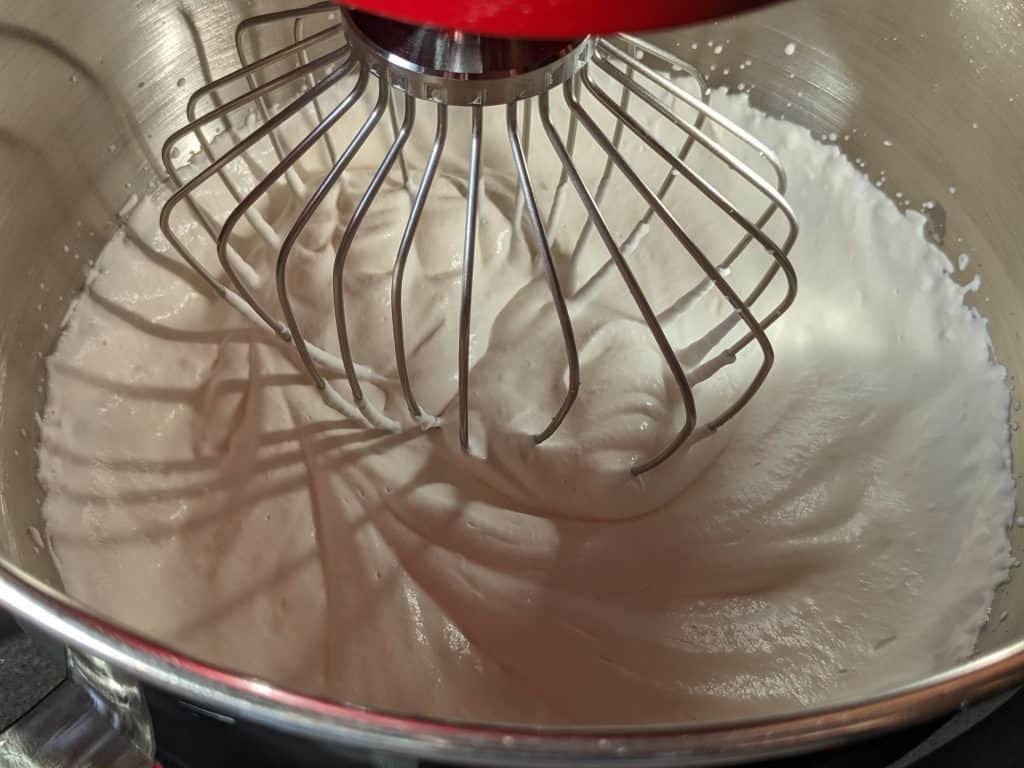
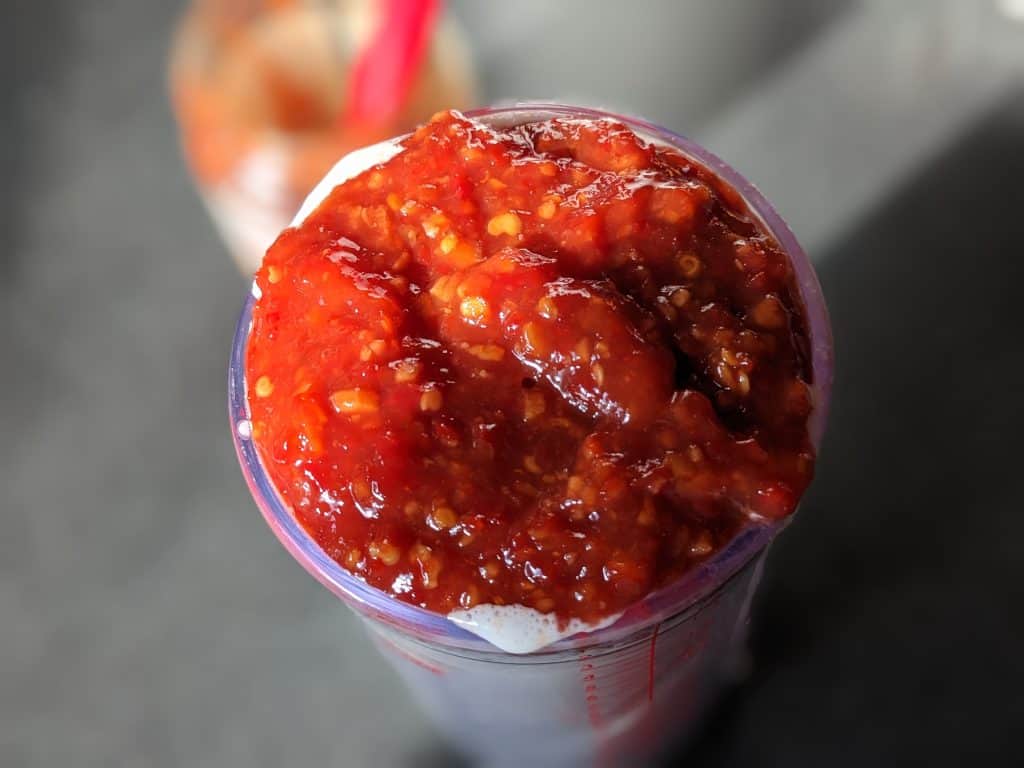
At this point, add in ⅓ cup chili garlic sauce.
Turn the mixer back on and mix on medium high until stiff peaks form. Scrape down the sides of the bowl and the bottom of the bowl. Then turn the mixer back on medium high and take the mixture a step beyond stiff peaks, so that it starts to get a bit thicker. We’re not making butter, but we want this Chili Garlic Whip to be the consistency of Cool Whip when it is still chilled.
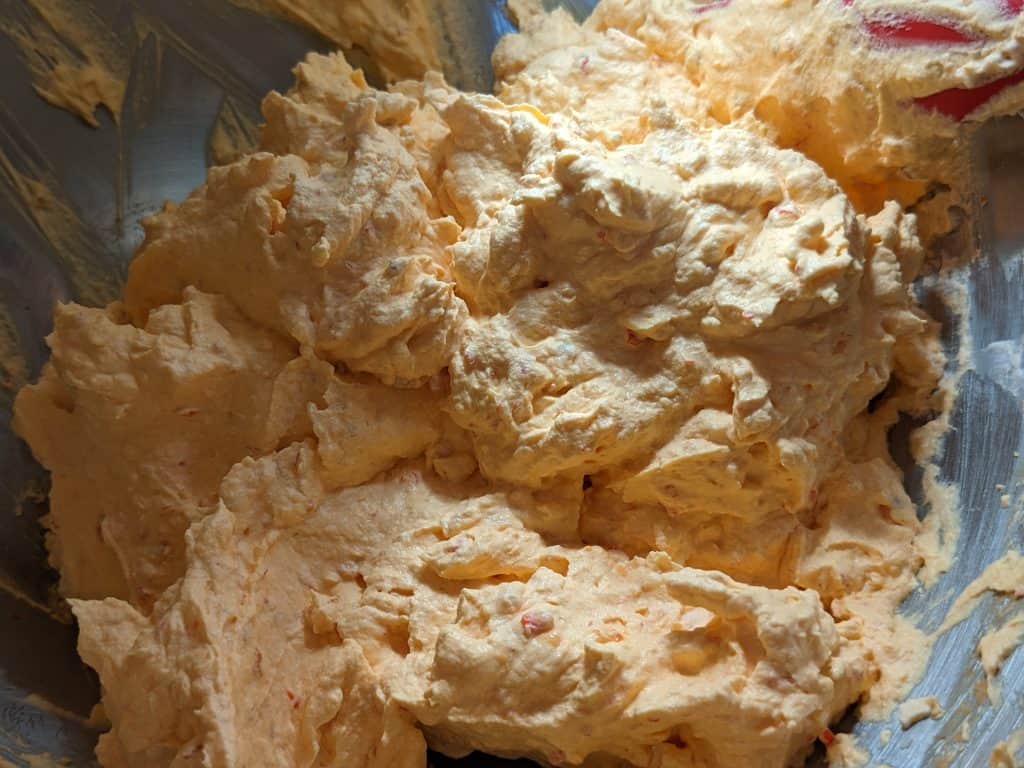
That’s it. You’re done!
How to Serve Chili Garlic Whip
Now that you have this awesome dip / speak, what can you do with it?
I suggest any of the following:
- Use it as a dip for zucchini fries
- Dip for your veggie dippers or Easy Keto Pita Chips (or regular crackers if not keto)
- Spread it on a sandwich or wrap with cheddar and chicken
- Pipe it onto canapésketo toast point and then top it with a small cooked shrimp
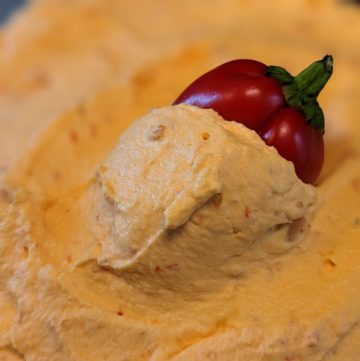
Chili Garlic Whip
Ingredients
- 2 cups Heavy Cream
- ⅓ cup Chili Garlic Sauce
Instructions
- Pour 2 cups Heavy Cream into the bowl of your stand mixer. (If not using a stand mixer, then pour into a large bowl.)2 cups Heavy Cream
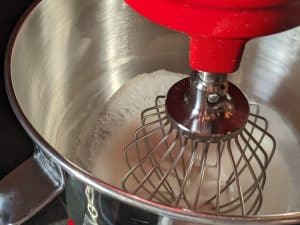
- Begin mixing on low-medium speed until air bubbles form. Then increase the speed and keep going until soft peaks form.
- Add ⅓ cup Chili Garlic Sauce.⅓ cup Chili Garlic Sauce

- Continue mixing until the whipped cream is slightly past stiff peaks.
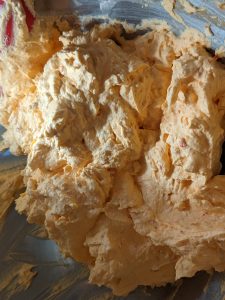
- Serve immediately or store covered in the fridge until you are ready to serve it or use it as an ingredient.
Equipment
- Measuring Cups
Notes
- Dairy Free Alternatives
- I will be testing this recipe using coconut cream in place of heavy cream and will update the recipe accordingly.


Leave a Reply